Setting up Locations
What are locations?
Locations are a handy way to specify what messages have been sent from any of the different departments , stores, offices, or other units you operate. You can also assign your staff and admin users to different locations as required.
All accounts start with ‘Location 1’ as their location. You can edit this to a Location name of your choice if you wish and also add more Locations.
How do I attach users to a location?
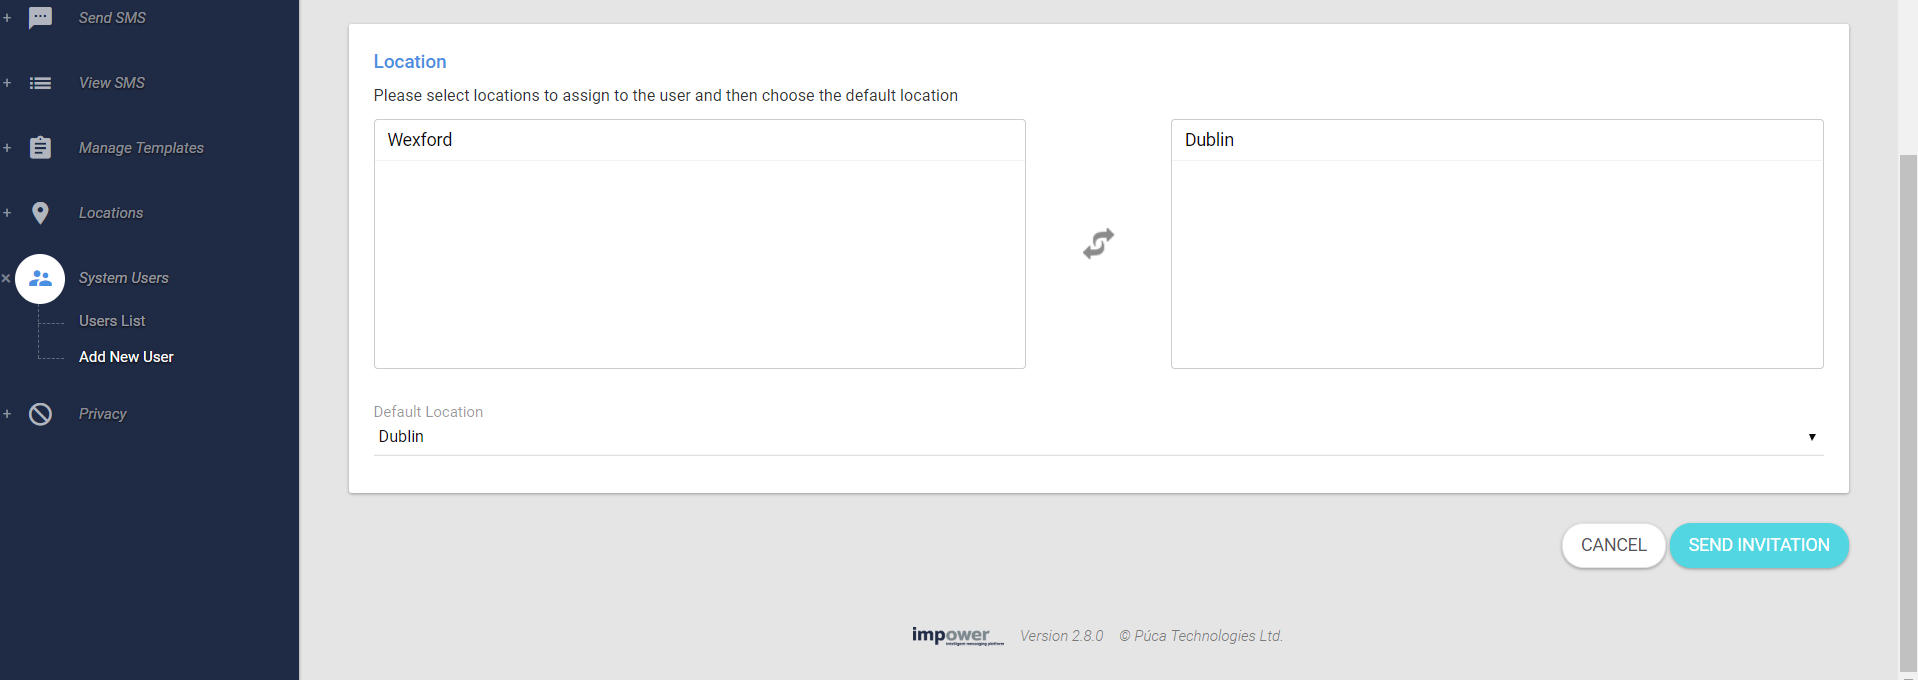
When you are inviting a new user to your account you must associate them with one or more Locations and also specify what is the ‘default’ Location for that user. (The ‘default’ Location is simply the Location that is pre-selected for that user anywhere that a Location needs to be specified such as when sending an SMS). If you have not created any new Locations just select Location 1 and mark it as the default location for that user.
Staff Users will now be able to see all SMS sent under the locations they are assigned to. When adding a Staff User, you can decide what locations they will be able to send SMS from, select their default location from that decided list, then allow them to see all messages sent from that location or just let them see what requests they have sent themselves.
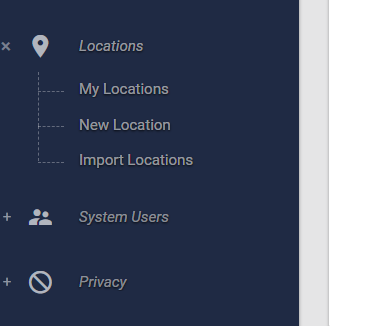
Tip: its not possible to delete Location 1, so if you’re not going to use Locations its probably best to edit it to ‘Head Office’, ‘Accounts ‘, or something else that makes sense to you. You can edit a Location by going to the ‘My Locations’ section, clicking the 3 dots to bring up the options for the location, then click edit. The Edit Location window appears like this below image:

Can I change my default location if I have multiple locations assigned to me?
Yes, all users can change their default locations by clicking their name in the top right corner, and clicking ‘Profile’ in the dropdown that appears. On this profile page, if you scroll to the bottom you will see the option to change your default location to another one of your assigned locations. You can see how this is done via this below image: